Chicken Fricassée: The 45 Minute French Comfort Dish
You know the feeling. It’s a Tuesday, you’re staring into the fridge at a package of chicken thighs, and you want something that feels like a real meal, not another sheet pan of the usual. You don’t have four hours. You definitely don’t have a sous chef. What you want is something that tastes like it came out of a small bistro kitchen in Lyon, but that you can actually pull off between getting home and everyone losing patience for dinner.
That’s exactly what chicken fricassée is built for.
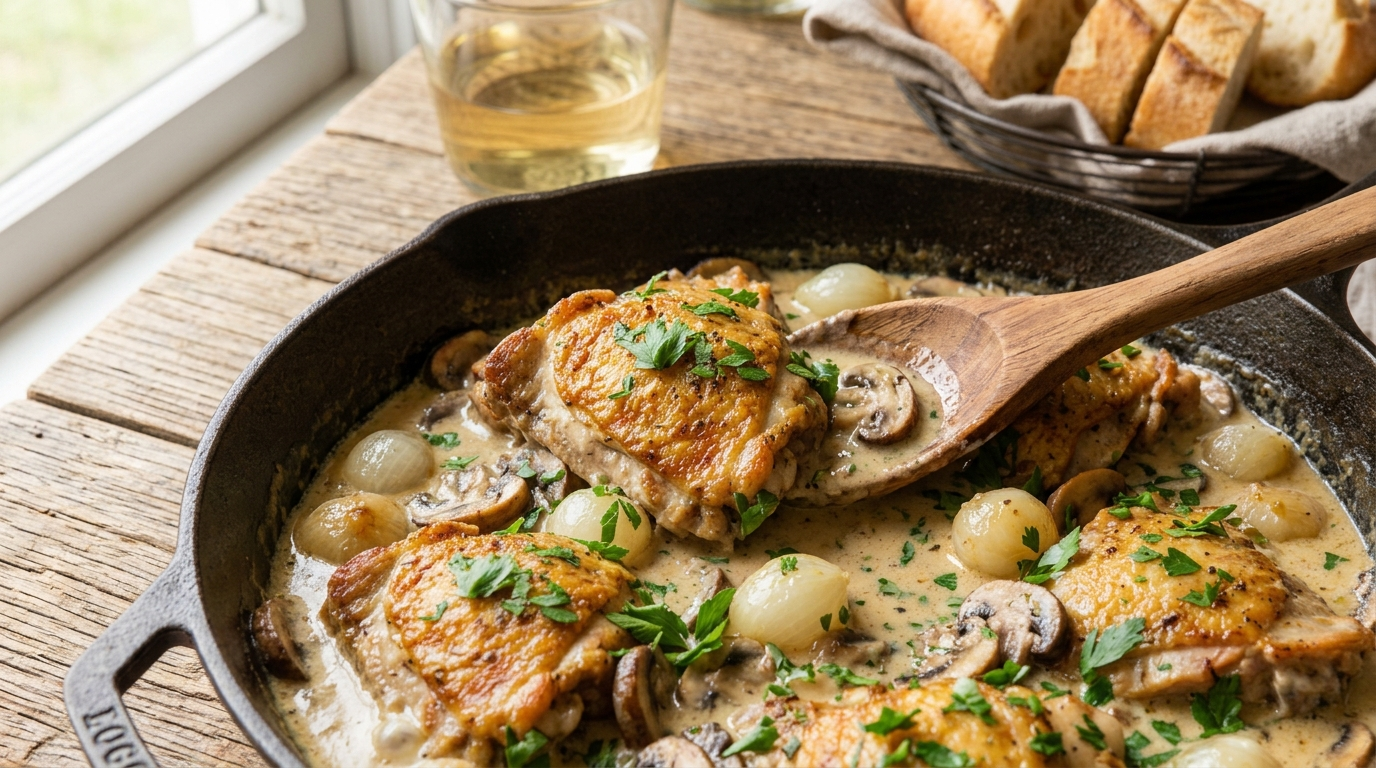
This isn’t the fussy, hours-long braise your grandmother’s French cookbook might suggest. It’s a stovetop dish, start to finish, in well under an hour, and it delivers something most weeknight chicken recipes never manage: a genuinely luxurious sauce. Silky, wine laced, finished with cream, clinging to tender chicken and mushrooms. It’s the kind of dinner that makes people at your table go quiet for a second, then ask what’s in the sauce.
By the end of this post, you’ll understand exactly why each ingredient earns its spot, what’s actually happening in the pan at every stage, and how to fix the two or three things that commonly go sideways (looking at you, broken cream sauce). Let’s get into it.
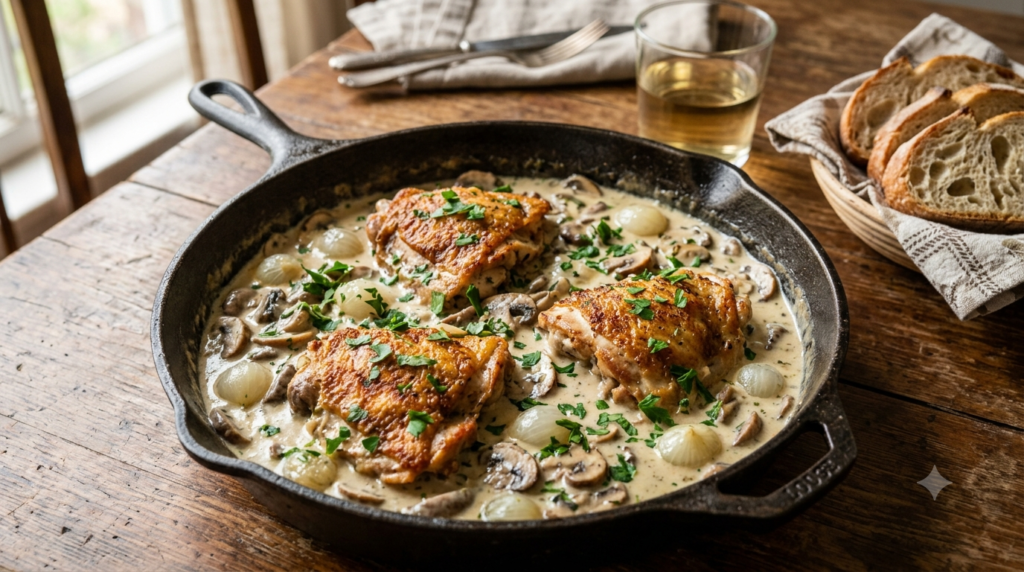
Table of Contents
What Exactly Is Chicken Fricassée?
Fricassée comes from the French verb fricasser, which roughly means to fry and then stew. That definition tells you almost everything about the technique before you even read a recipe. It’s a hybrid method, and understanding the hybrid part is what separates a good fricassée from a mediocre one.
Here’s the distinction that matters: a sauté cooks food quickly in a small amount of fat over fairly high heat, and the food stays in that dry heat environment the whole time. A braise, on the other hand, involves searing something first and then finishing it slowly in liquid, usually covered, usually low and slow, often for hours. Think pot roast or coq au vin.
Fricassée sits right between those two. You sauté the chicken first to build color and flavor, the same way you would for a quick sauté dish. Then, instead of stopping there, you add liquid and let the chicken finish cooking gently in that liquid, the way you would for a braise, except for a fraction of the time. Traditional fricassée doesn’t brown the chicken deeply the way coq au vin does. The classic version is pale, almost blond, because the chicken is cooked gently rather than seared hard. Modern American versions, including this one, usually lean into a deeper sear because Americans tend to like that toasted, caramelized flavor, and honestly, it’s hard to argue with more fond in the pan.
The dish dates back centuries in French home cooking, long before restaurants turned it into something plated with tweezers. It was a practical way to use a whole chicken, stretch a modest amount of meat with vegetables, and turn out something that felt special without requiring the kind of ingredients only wealthy households had access to. That practicality is exactly why it works so well as a modern weeknight recipe. It was never meant to be complicated.
Fricassée vs. Coq au Vin: What’s the Real Difference?
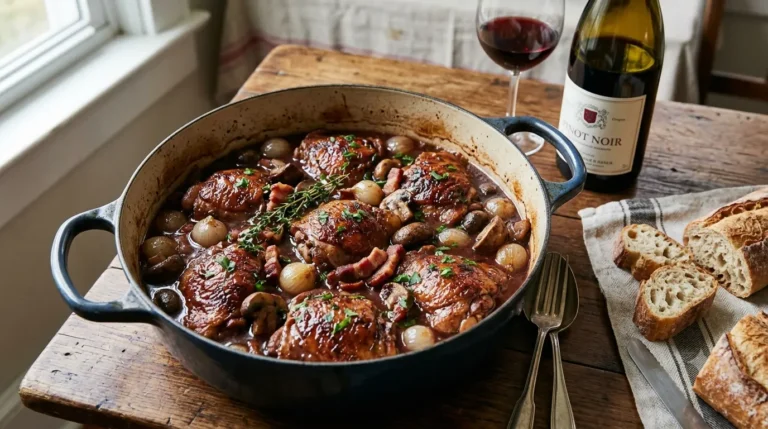
People mix these up constantly, so it’s worth a quick clarification. Coq au vin is a true braise, made with red wine, cooked low and slow, traditionally with a rooster (coq) that needed a long cook time to become tender. Fricassée uses white wine, cooks much faster, and results in a cream based, ivory colored sauce instead of a deep red one. If coq au vin is your Sunday afternoon project, fricassée is your Tuesday night dinner.
The Ingredients, and Why Each One Actually Matters
A lot of recipes just hand you a list and expect you to trust it. I’d rather you understand the job each ingredient is doing, because once you get it, you’ll be able to improvise with what’s in your kitchen instead of making a special grocery run every time.
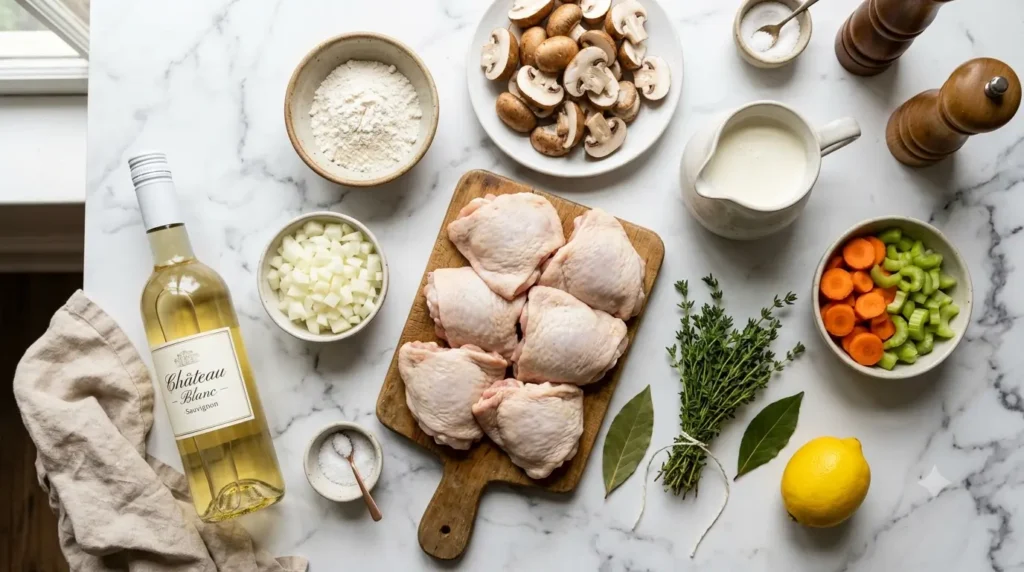
Bone-in, skin-on chicken thighs. This is the backbone of the dish, and thighs are non-negotiable if you want the best result. Thigh meat has more connective tissue and fat than breast meat, which means it can handle the braising step without drying out or turning stringy. The bone adds body to the sauce as it simmers, and the skin, once rendered and browned, is where a huge amount of your flavor foundation comes from. If you only have bone-in breasts or a whole cut-up chicken, that’s workable too, just know breasts need to come out of the pan earlier so they don’t overcook.
Kosher salt and black pepper. Season the chicken generously before it hits the pan, not after. Salt applied ahead of time draws out surface moisture briefly, then gets reabsorbed, seasoning the meat from the inside rather than sitting on top of it. This is also what helps you get real browning instead of steaming.
All-purpose flour. A light dusting on the chicken before searing does two things. It helps the surface brown more evenly and quickly, and it acts as a built-in thickener once the chicken goes into the sauce, giving you a head start on that silky texture without needing a separate roux later.
Butter and neutral oil. Butter alone will burn before the chicken skin has a chance to crisp, because milk solids scorch at a relatively low temperature. Neutral oil, something like canola or grapeseed, raises the smoke point of the fat blend so you get better browning without acrid, burnt flecks in your sauce. You still get the flavor of butter, just without sacrificing your sear.
Yellow onion, carrots, and celery. This is your aromatic base, the French mirepoix, though a fricassée version is usually a bit more restrained than what you’d use for stock. These vegetables soften into the sauce and give it a rounded, savory backbone that plain chicken and wine can’t provide on their own.
Garlic. Added after the vegetables have softened, not at the same time, because garlic burns fast and turns bitter if it hits hot fat too early alongside onions that need several minutes to cook down.
Cremini or white button mushrooms. Mushrooms bring an earthy, umami depth that plays beautifully against the richness of the cream. Cremini (also labeled baby bella) have a slightly deeper, meatier flavor than standard white button mushrooms, but either works fine here.
Dry white wine. This is where a lot of home cooks get nervous, so let’s talk about what the wine is actually doing. When you pour wine into a hot pan after searing chicken, it does two jobs. First, it deglazes the pan, meaning the liquid dissolves and lifts all that browned, caramelized residue (called fond) stuck to the bottom, which is concentrated flavor you’d otherwise lose. Second, the acidity in the wine brightens the entire dish, cutting through the richness of the cream and butter so the final sauce doesn’t taste flat or heavy. As the wine simmers, most of the sharp alcohol flavor cooks off, leaving behind acidity and a subtle fruitiness. Use something you’d actually drink, a dry Sauvignon Blanc or unoaked Chardonnay works well. Skip anything labeled “cooking wine” at the grocery store, it’s loaded with salt and tastes flat. If you don’t cook with alcohol, low sodium chicken broth with a splash of white wine vinegar or fresh lemon juice gets you most of the way there.
Low sodium chicken broth or stock. This extends the braising liquid and adds savory depth. Low sodium is important because the liquid reduces significantly as it simmers, concentrating the salt level, and you don’t want to end up with an oversalted sauce you can’t fix.
A bouquet garni or fresh thyme and a bay leaf. Classic French technique bundles fresh herbs (usually thyme, bay leaf, and parsley stems) with kitchen twine so you can pull the whole thing out before serving. You can absolutely just toss in a couple of fresh thyme sprigs and a bay leaf loose and fish them out at the end, no twine required.
Heavy cream. Here’s the ingredient people most often want to swap, and here’s why you shouldn’t, at least not without understanding the tradeoff. Heavy cream has a high enough fat content, generally 36 percent or more, to stay stable when it simmers alongside acidic wine and hot liquid. Milk and half and half have far less fat and much more water and protein relative to fat, which makes them prone to curdling or “breaking” when combined with acid and heat, exactly the conditions this sauce creates. If you use milk, you risk a grainy, separated sauce instead of the smooth, glossy one you’re after. If you need a lighter option, half and half can work in a pinch if you temper it carefully and keep the heat low, but understand you’re trading some stability and richness for fewer calories.
Fresh lemon juice and parsley. Added at the very end, off the heat. The lemon brightens the finished dish (cream sauces can taste dull without a little acid to lift them at the end), and fresh parsley adds color and a clean, herbal finish that balances all that richness.
Grocery Store Substitutions That Actually Work
- No fresh thyme? A half teaspoon of dried thyme, added with the vegetables, is a fine swap.
- No cremini mushrooms? Standard white button mushrooms, or even a mix of whatever mushrooms you have, works.
- No dry white wine? Use an equal amount of chicken broth plus one tablespoon of white wine vinegar or fresh lemon juice.
- Out of heavy cream? Full fat coconut milk gives you a different flavor profile but a similarly stable, rich texture, and it’s a solid option if you’re avoiding dairy.
- No fresh garlic? A half teaspoon of garlic powder added with the flour works, though fresh really is worth it here.
The Technique, Step by Step
This is the part where understanding what should be happening in the pan, not just what to do, makes the biggest difference in your results.
Step One: Searing the Chicken
Pat your chicken thighs completely dry with paper towels before you do anything else. This matters more than people think. Any surface moisture left on the chicken will steam the second it hits hot fat, and steaming chicken skin gives you gray, flabby skin instead of a deep golden crust. Season generously, dust lightly with flour, and shake off the excess. You want a thin, even coating, not a thick batter.
Heat your butter and oil together in a heavy bottomed pan, a Dutch oven or deep skillet, over medium-high heat until the butter foams and the fat is shimmering. Lay the chicken in skin side down and then leave it alone. This is the hardest instruction to follow and the most important one. Do not move the chicken, do not peek underneath, do not shuffle it around the pan. Give it a full five to seven minutes undisturbed. You’ll know it’s ready to flip when the skin releases from the pan on its own with a gentle nudge, and it should be a deep golden brown, almost mahogany at the edges. If it’s sticking, it isn’t ready yet. Flip and sear the second side for another three to four minutes, just to set the color, then remove the chicken to a plate. It won’t be fully cooked through yet, and that’s exactly right, it’s going to finish in the braising liquid.
Step Two: Building the Flavor Base
In that same pan, with all that beautiful browned fond still stuck to the bottom, add your onion, carrot, and celery. Cook over medium heat for about five minutes, stirring occasionally, until the onion turns translucent and starts to soften. Add the garlic and mushrooms and cook for another four to five minutes. The mushrooms will first absorb whatever fat is in the pan and look dry, then release their own liquid and start to shrink down. Let them cook until that released liquid mostly evaporates and the mushrooms start to brown slightly at the edges. This is where a lot of the dish’s depth comes from, so don’t rush this stage just to get to the wine.
Step Three: Deglazing
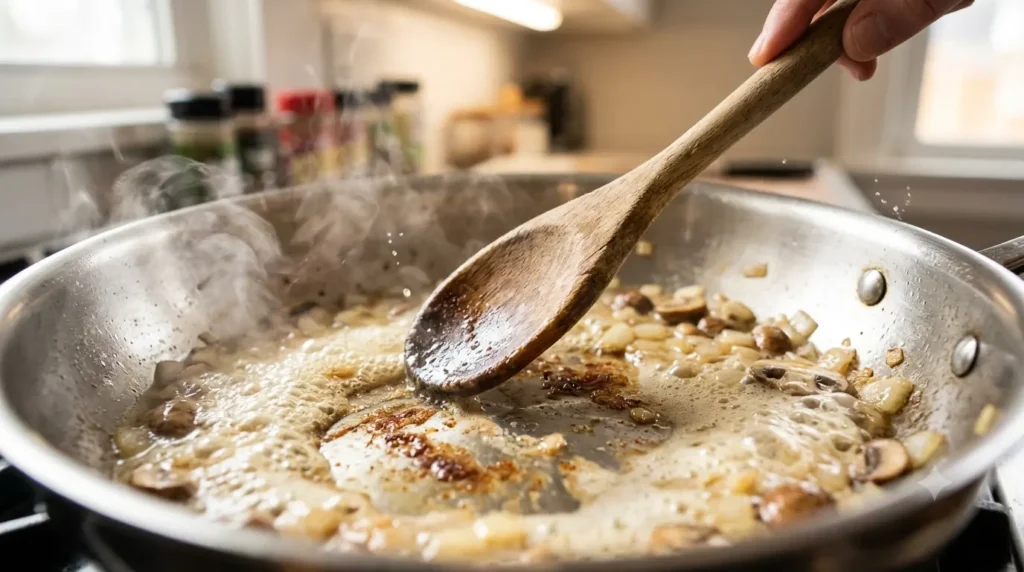
Pour in the white wine and immediately scrape the bottom of the pan with a wooden spoon. You should hear a satisfying sizzle and see all those browned bits lifting up and dissolving into the liquid. Let the wine simmer for two to three minutes to cook off the sharp alcohol edge, you’ll notice the smell in the kitchen shift from sharp and boozy to something rounder and more savory.
Step Four: Braising
Return the chicken to the pan, skin side up, along with any juices that collected on the plate. Add the chicken broth, it should come about halfway up the sides of the chicken, not fully submerge it, since you want the skin to stay above the liquid line so it doesn’t turn soggy. Tuck in your thyme and bay leaf. Bring everything to a gentle simmer, then reduce the heat to low, cover, and let it cook for 20 to 25 minutes. You’re looking for a lazy simmer, just a few small bubbles breaking the surface, not a rolling boil. Boiling too hard will toughen the chicken and can make the eventual cream addition more likely to break. Chicken thighs are done when they reach an internal temperature of 165°F, though if you’re not using a thermometer, the meat should be tender enough that it’s starting to pull slightly from the bone.
Step Five: Thickening the Sauce
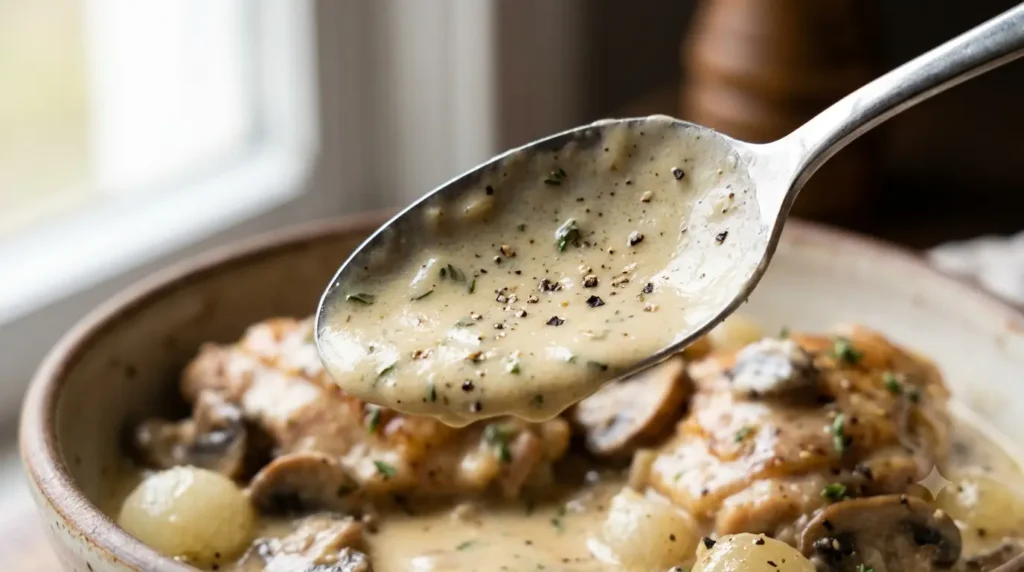
Remove the chicken to a plate and tent it loosely with foil. Fish out the bay leaf and thyme stems. Bring the braising liquid up to a simmer and let it reduce for three to four minutes, this concentrates the flavor before you add the cream. Now lower the heat, stir in the heavy cream, and simmer gently, uncovered, for another five minutes, stirring occasionally, until the sauce thickens enough to coat the back of a spoon. Taste and adjust the salt and pepper. Off the heat, stir in the lemon juice and most of the parsley. Return the chicken to the pan to warm through in the sauce for a minute or two, then serve with the remaining parsley scattered over top.
Pro Tips and Fixing Common Mistakes
My cream sauce broke, what happened? This is the number one issue people run into, and it’s almost always one of two causes: the sauce got too hot after the cream went in, or the cream met the acidic wine too abruptly. Cream sauces can separate when fat and liquid split apart under high heat or a sudden temperature shock. Once you add the cream, keep the heat low, a gentle simmer at most, never a hard boil. If it does start to look grainy or separated, pull the pan off the heat immediately and whisk in a tablespoon of cold cream or cold butter, off heat, which can sometimes bring it back together. If it’s fully broken, your best move is to strain the solids out, whisk the sauce vigorously off heat, or, if it’s beyond saving, start the cream step over with a fresh addition, incorporating it slowly this time.
My sauce is too thin. Simmer it uncovered a few minutes longer, that’s usually all it needs, since the extra time lets more liquid evaporate. If you’re short on time, a small slurry of one teaspoon cornstarch whisked with one tablespoon of cold water, stirred in and simmered for a minute, will thicken it quickly without dulling the flavor.
My sauce is too thick. Loosen it with a splash of warm chicken broth, added a tablespoon at a time until it’s back to a nice, spoon coating consistency.
My chicken skin got soggy. This happens when the skin sits below the liquid line during braising, or when the chicken goes back into the pan skin-down after it was resting. Keep the skin above the broth while braising, and when you return the chicken to finish in the sauce, nestle it in skin side up rather than submerging it.
My chicken came out dry. This almost always means it either overcooked during the braise or you used breast meat instead of thighs. Thighs are much more forgiving. If you do use breasts, pull them from the braising liquid closer to the 12 to 15 minute mark rather than the full 20 to 25.
I don’t have a thermometer, how do I know it’s done? Cut into the thickest part near the bone. The juices should run clear, not pink, and the meat should look opaque all the way through, not translucent near the bone.
What to Serve With Chicken Fricassée
The sauce is genuinely the star of this dish, which means your side should be built to soak it up.
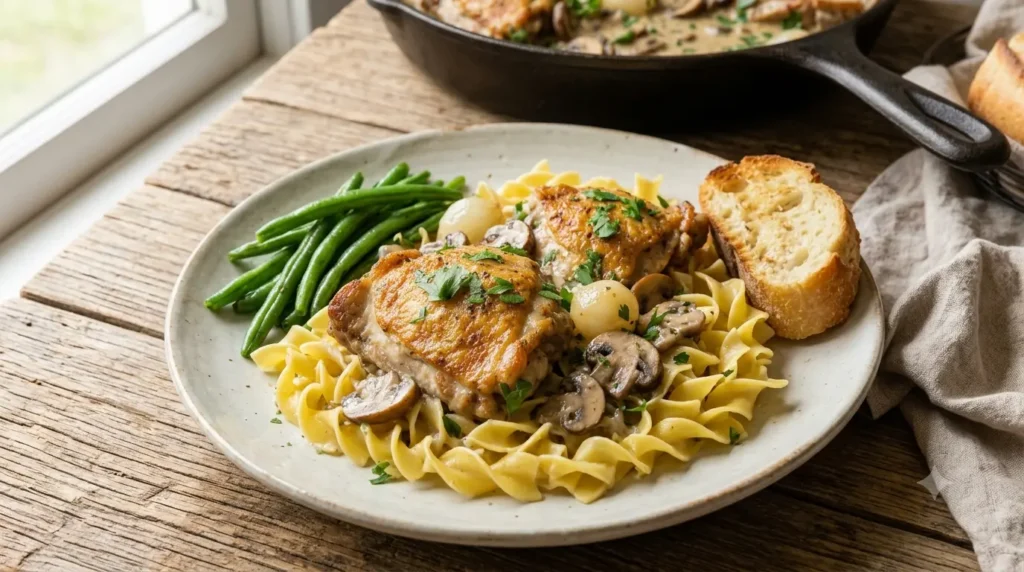
Mashed potatoes are the classic pairing for a reason. Something with a bit of texture, like a rustic mash with the skins left on, holds up nicely against the richness of the sauce.
Buttered egg noodles are the fastest option if you’re already stretched for time, and they have a slightly chewy texture that works beautifully with cream sauces.
Crusty baguette or a good sourdough is non-negotiable in my kitchen. You need something for the inevitable moment when everyone at the table starts wiping the last of the sauce off their plate.
Steamed rice, particularly a simple long grain rice, is a lighter option that still catches the sauce well without competing with it.
A simple green vegetable on the side balances out all that richness. Sautéed green beans, roasted asparagus, or a light green salad with a sharp vinaigrette all work well, since the acidity in a vinaigrette echoes the wine and lemon already in the dish.
Storage, Freezing, and Reheating
Refrigerating leftovers. Let the fricassée cool to room temperature, no more than two hours after cooking, then transfer it to an airtight container. It will keep well in the refrigerator for three to four days.
Freezing. Cream sauces are notorious for separating when frozen and thawed, so if you’re planning to freeze a batch, your results will be more reliable if you freeze the dish before adding the cream, then finish the sauce fresh after reheating. If you’d rather freeze the completed dish anyway, it’s still safe to do, just know the texture of the sauce may look slightly grainy after thawing. A vigorous whisk while reheating gently, or a quick blitz with an immersion blender, can smooth it back out. Frozen fricassée keeps well for up to three months in a freezer safe, airtight container.
Thawing. Move it to the refrigerator the night before you plan to reheat it. Avoid thawing on the counter at room temperature, which allows the outer layers to sit in the food safety danger zone too long before the center thaws.
Reheating. Reheat gently on the stovetop over low heat, stirring frequently, rather than blasting it in the microwave, which tends to overcook the edges of the chicken while the center stays cold. If the sauce looks a little thick or separated after storage, a splash of chicken broth or cream whisked in while reheating will bring it back to life. Reheat only until it’s warmed through, roughly 165°F if you’re checking, since additional prolonged heat is what tends to cause the sauce to break.
Frequently Asked Questions
Can I use boneless, skinless chicken breasts instead of thighs? You can, though you’ll want to adjust your technique slightly. Boneless breasts cook faster and have far less fat to protect them, so they’re much easier to overcook into something dry and stringy. Sear them for a shorter time, about two to three minutes per side, and pull them from the braising liquid at the 12 to 15 minute mark rather than the full 20 to 25. You’ll also lose some of the depth that bone-in, skin-on thighs contribute to the sauce, since there’s no skin to render and less connective tissue to add body.
Is chicken fricassée gluten-free? Not as written, since the chicken is dusted in all-purpose flour before searing, which also functions as a thickener for the sauce. You can make it gluten-free by substituting a one-to-one gluten-free flour blend or cornstarch for dusting the chicken, and double checking that your chicken broth is labeled gluten-free, since some brands include gluten-containing additives.
Can I make chicken fricassée ahead of time for a dinner party? Yes, and honestly it reheats beautifully, which makes it a great make-ahead option for entertaining. Prepare the entire dish up through the braising step, then refrigerate it. On the day you’re serving, reheat it gently on the stovetop, then finish with the cream, lemon, and parsley right before you bring it to the table, so the sauce tastes fresh rather than like a reheated leftover.
What’s the best wine to actually drink alongside this dish? Since you’re already cooking with a dry white, pouring the same bottle at the table is an easy, reliable choice. A Sauvignon Blanc, unoaked Chardonnay, or a dry Chenin Blanc all complement the cream and mushroom flavors nicely without overwhelming them.
Can I make this recipe dairy-free? You can get close. Swap the butter for a neutral oil or a dairy-free butter alternative, and replace the heavy cream with full-fat coconut milk or a dairy-free heavy cream alternative formulated for cooking. The flavor profile will shift slightly, coconut milk especially will add a subtle sweetness, but the technique and overall result still work.
Why did my recipe turn out watery instead of rich and creamy? Usually this comes down to one of two things: not reducing the braising liquid enough before adding the cream, or using a cream substitute with too little fat to thicken properly. Give the braising liquid a solid few minutes to reduce on its own before you add the cream, and stick with true heavy cream (36 percent fat or higher) for the most reliable, richest result.
The Recipe Card
Chicken Fricassée A quick French-style chicken stew in a silky white wine and cream sauce, ready in under an hour.
Prep Time: 15 minutes Cook Time: 40 minutes Total Time: 55 minutes Yield: 4 servings
Ingredients
- 4 bone-in, skin-on chicken thighs (about 2 pounds)
- Kosher salt and freshly ground black pepper
- 3 tablespoons all-purpose flour, divided
- 2 tablespoons unsalted butter
- 1 tablespoon neutral oil (canola or grapeseed)
- 1 medium yellow onion, diced
- 2 medium carrots, peeled and sliced
- 2 celery stalks, sliced
- 3 cloves garlic, minced
- 8 ounces cremini or white button mushrooms, sliced
- 3/4 cup dry white wine
- 1 1/2 cups low sodium chicken broth
- 2 sprigs fresh thyme (or 1/2 teaspoon dried)
- 1 bay leaf
- 1/2 cup heavy cream
- 1 tablespoon fresh lemon juice
- 2 tablespoons fresh parsley, chopped, divided
Instructions
- Pat the chicken thighs completely dry with paper towels. Season both sides generously with salt and pepper. Dust lightly with 2 tablespoons of the flour, shaking off the excess.
- Heat the butter and oil in a large Dutch oven or heavy bottomed skillet over medium-high heat until shimmering. Add the chicken skin side down and sear undisturbed for 5 to 7 minutes, until deeply golden and releasing easily from the pan. Flip and sear the second side for 3 to 4 minutes. Transfer chicken to a plate.
- Reduce heat to medium. Add the onion, carrot, and celery to the pan and cook for 5 minutes, stirring occasionally, until softened. Add the garlic and mushrooms and cook for another 4 to 5 minutes, until the mushrooms release their liquid and it mostly evaporates.
- Sprinkle the remaining 1 tablespoon of flour over the vegetables and stir to coat, cooking for 1 minute.
- Pour in the white wine, scraping the bottom of the pan to lift any browned bits. Simmer for 2 to 3 minutes.
- Return the chicken to the pan, skin side up, along with any accumulated juices. Add the chicken broth, thyme, and bay leaf. Bring to a gentle simmer, cover, reduce heat to low, and cook for 20 to 25 minutes, until the chicken reaches 165°F internally.
- Transfer the chicken to a plate and tent loosely with foil. Discard the bay leaf and thyme stems. Increase heat slightly and simmer the liquid uncovered for 3 to 4 minutes to reduce.
- Reduce heat to low, stir in the heavy cream, and simmer gently for 5 minutes, until the sauce coats the back of a spoon. Season to taste with salt and pepper.
- Remove from heat and stir in the lemon juice and half the parsley. Return the chicken to the pan to warm through.
- Serve hot, spooning extra sauce over the chicken, and garnish with the remaining parsley.
Notes: For a gluten-free version, substitute a 1:1 gluten-free flour blend for dusting the chicken and confirm your broth is gluten-free. Leftovers keep refrigerated for 3 to 4 days.